How to Make Perfect Pizza at Home
Guess what?! I'M ON A PODCAST. (Check that one off the bucket list! Because we all know I love podcasts ...) Gabriel from The Dinner Special Podcast was kind enough to invite me to be on his show. We recorded it a few months ago and now it's out in the world for your listening pleasure. That's right: you can hear my voice talk about food blogging and whatnot, but also a LOT about pizza, and especially about making pizza at home. Turns out I'm kind of a pizza freak. So today I wanted to celebrate by sharing my fool-proof pizza recipe with you.
This recipe is adapted from the one in the Smitten Kitchen Cookbook. Robert and I have made it countless times by now, and we've gotten it down to a science, tweaking it here and there to become our perfect recipe. Here's the thing: I'm sure you can find pizza dough recipes out there that might yield a better texture or a more nuanced flavor, but I bet you won't find one that's this easy, so little time-consuming, AND consistently produces a super easy-to-work-with dough with a totally delicious flavor and texture for a homemade pizza. You just won't. I've tried a handful of pizza doughs but we always come back to this one. If you want more flavor out of it you could always let it rise for way longer (like overnight in the fridge.) Or, if you have a dough you love, you can still use this overall method once your dough is prepared. This is seriously so easy. It looks like a lot of steps the way I wrote it out, but it's really not. It's one of those recipes where I just have the ingredients listed on a post-it note on my fridge for reference, but I just know the recipe by heart because there's not much to it. Once you do it a few times you'll be a pro as well. So let's get started!
GATHER YOUR INGREDIENTS
It doesn't require many ingredients to make a pizza, and they are all items that you can just have on hand at all times. If you always have those essentials in your pantry, then you are never more than an hour away from having a homemade pizza. It's also the perfect way to use up random bits in your refrigerator. If you have an odd amount of something leftover, throw it on a pizza and you suddenly have a delicious dinner and cleaned out your fridge at the same time. A random handful of spinach that's about to go bad? 3 slices of bacon? A bruised peach? Throw it on a pizza. Here's what we like to keep on hand:
YEAST
Forget those stupid little pre-measured packets. This recipe would require you to use part of a packet, and there's no point in dealing with that nonsense. Do yourself a favor and get one of those jars of yeast. (My grocery store sells them near the eggs?) Keep it in your fridge and it will last you through many pizzas.
FLOUR
Bread flour has become our top choice for pizza, but you could use plain old all purpose flour, and we also like doing a mix of all purpose and whole wheat.
SALT, OLIVE OIL + SUGAR
If you don't have any of these items in your kitchen, then I don't really know how you ended up reading a food blog. If you're new to the scene, welcome! Salt, sugar and olive oil are a good place to start when stocking a pantry. I use fine sea salt for this recipe, regular granulated sugar (you could even use honey instead) and you could really use any neutral oil you want, like canola or grapeseed.
CORNMEAL
This isn't totally necessary, but we enjoy the texture it adds to the bottom of the crust, and it also makes it super easy to slide the pizza off of the pan and onto a cutting board when it comes out of the oven. A bag of it only costs a few bucks and will last you a very long time.
CHEESE
Feel free to use high-quality cheese, but we like the ease of the pre-shredded stuff. We always have mozzarella, an "Italian blend" and parmesan on hand. Sometimes, depending on the direction we're going with our pizza, we also use cheddar, brie, goat, feta, gouda, etc. It's cheese; it's all delicious (unless you're Robert and you hate blue cheese).
SAUCE
If you make your own marinara sauce, kudos to you. I don't. We pick up a basic tomato sauce from the pasta aisle and use that. It will keep for quite a while in your fridge after it's been opened, so we get a lot of pizzas out of one jar.
DO I NEED A MIXER?
Absolutely not. If you don't have a mixer with a dough hook, start by mixing everything together with a spoon and then eventually move it onto a surface so you can work it with your hands. It makes the process a little more time-consuming since you can't be doing other things while the mixer does the work for you, but it shouldn't take too long. That said, between occasional baking projects and making pizza dough, I use my Kitchenaid mixer on a weekly basis, and if something happened to it I would repair or replace it in a heartbeat. If you're someone who enjoys baking and would like to start making pizza at home on a regular basis, please treat yourself to one (look at all the pretty colors!) or have your family chip in on one for your next birthday or something. They last a lifetime and can truly improve your quality of life (if you ask me, anyway).
GET YOURSELF A SCALE
Okay, so you don't need this either, but I would urge you to buy one of these before getting a stand mixer. Flour is difficult to measure accurately by volume, so measuring by weight is not only cleaner and faster, but it'll give you better results. So if you do ANY kind of baking, I'd highly recommend getting used to baking with a scale. They have a relatively low price tag; I've been using this one for four years now and it has served me very well. Once you know how much an ingredient should weigh for 1 cup (I use 130 grams for 1 cup of AP flour), you can convert any recipe to weight measurements. But I especially love using my scale for making pizza dough because I'm using exactly the same amount of flour every time (190 grams), so I almost never have to tweak it except in extreme cases of a really humid or cold day. Then it's just a matter of adding a splash of water (or white wine if you're feeling fancy) or a dash of flour to the dough to reach the proper consistency.
START THAT YEAST & WARM UP THE OVEN
The first thing you want to do is to combine the warm water, yeast and sugar in a large bowl (the bowl of the stand mixer if you're using one). Pour in the warm water (it should feel like a temperature you would want to take a bath in), sprinkle the yeast over top, and then sprinkle the sugar on top of that. No need to stir or anything. You're also going to warm up the oven so the dough can rise in there, but you only want to turn it on for 5 minutes to get some heat in there. The yeast also needs to sit for 5 minutes, so once the yeast mixture is in the bowl, go turn the oven on to 200°F, and then set a timer for 5 minutes.
MEASURE FLOUR AND SALT
While the yeast is bubbling and the oven is warming, measure out your flour and salt. In a small bowl weigh out your flour with your handy-dandy scale, and then add the salt and stir it all around. Do a little dance because you probably still have three minutes until your yeast is ready for you.
MIX IT ALL UP
Once your timer goes off, turn off the oven (don't forget this step!). Dump the flour mixture into the yeast mixture and start to mix it up with the dough hook on a medium-low setting. On my Kitchenaid I do this on level "2." After a few minutes it should start to come together as a craggy mess. At this point you should stop the mixer, scrape down the sides with a spatula, and turn it back on at a low setting, or "stir" on a Kitchenaid. Let it go for a few more minutes until it all comes together as a smooth ball of dough. If it seems too wet or too dry, add some wine/water or flour to adjust the consistency. During this "kneading" step I usually take that time to put clean dishes away, change into comfier clothes, pour myself a glass of wine or go on an Instagram binge, etc. You know the drill.
LET IT RISE
At this point your dough is ready to rise. Set it outside of your bowl for a second so you can put some olive oil in there and swish it around the bottom. Place the dough back in the bowl, turn it a few times to coat it with oil, and then cover the bowl with plastic wrap. Place it in your oven to rise for at least 30 minutes. (Remember: the oven should be OFF, but pre-warmed from earlier.)
BE PRODUCTIVE
Now is the time to be productive. If you have prep work to do for your pizza toppings, work on that. Chop veggies, saute some meat, make your special sauce, whatever. If you don’t need that step, use this time to clean the kitchen, do a 30-minute workout, pack your lunch for tomorrow or treat yourself to some relaxing “me time.” One of my favorite parts of making pizza is this built-in time to do other things, which for me is usually cleaning the kitchen from the night before. Then after you’ve enjoyed your pizza there isn’t much cleanup left to do at all. But you can pick your poison; I’m kind of a nerd, so …
ROLL OUT DOUGH & PREHEAT OVEN
When your dough is done rising, take it out of the oven and immediately turn the oven on to its highest setting to warm up. (For us it's 500°F.) Spray a sheet pan with nonstick spray oil or rub some olive oil on it. Lightly scatter some cornmeal on the pan. Robert usually does this part, and sometimes he likes to get fancy by scattering some dried herbs like basil and oregano on there along with some garlic powder, just to give the crust a little extra somethin'. Then lay your dough on the pan and use your hands to flatten it out. It should easily press out to a little smaller than a standard sheet pan (about 11x15 inches).
PARBAKE THE CRUST
At this point we want to partially bake the crust. This step helps to avoid a soggy crust and gives you a crispier bottom. Bake the crust by itself for 4-6 minutes or until it starts to firm up.
TOP THE PIZZA
Take the parbaked crust out of the oven and start to add your toppings. We start with sauce (obviously) or pesto if we're using that instead. Then we usually do a generous sprinkle of cheese, followed by our toppings, followed by a little more cheese.
BAKE & BROIL
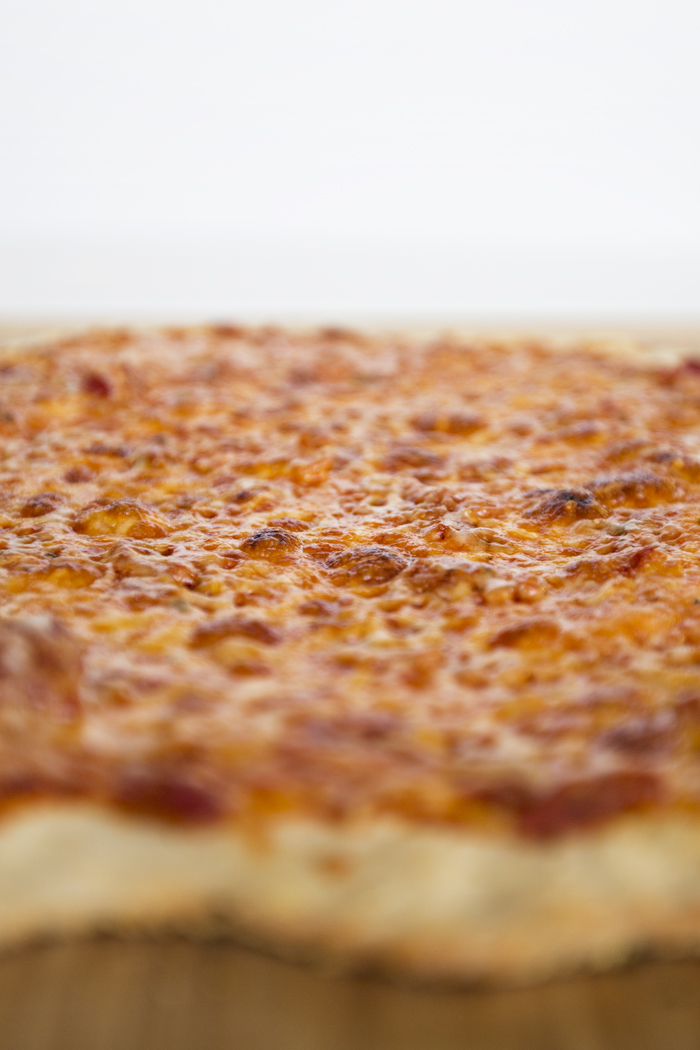
Put the topped pizza back into the oven and bake for 7 minutes. Sometimes, depending on our toppings, it's totally done after 7 minutes with browned cheese and everything. If your cheese isn't browned and bubbly after 7 minutes, broil the pizza until it is. Keep an eye on it, though - this is a delicate process. Move the pizza around under the broiler to get all of the corners until it's perfect.
FINISH WITH GARNISHES
Now your pizza is done! We slide our pizza off of the sheet pan and onto a large cutting board to slice it up. This is usually extremely easy to do because of the cornmeal. If you greased your pan well, it should be easy to do even without cornmeal. Before we slice it up we put on the garnishes, like chopped fresh herbs, chopped nuts, or a balsamic/honey drizzle if we're using them. Put them on with a flourish and let your artistic side come out.
EAT
Now slice up that pizza and eat it! One of these pizzas serves the two of us very well, but it could feed 3-4 if you serve it alongside a large salad or something. It also makes a great appetizer at a potluck party with friends.
So what do you think - does it sound easy enough? I used to think that pizza was something you could make at home, but it either took way too much effort (compared to ordering takeout), or it just didn't taste very good. Now, thanks to this method, pizza is something we regularly make in our kitchen and it's one of our favorite things to eat. I hope this post will inspire you to make homemade pizza a tradition in your kitchen as well.
FOR YOUR INSPIRATION
Here are a few of our favorite pizza toppings:
pesto + cheese + fresh tomato slices
red sauce + cheese + bacon + onion + corn + ricotta
cheese + strawberries + goat cheese + basil + balsamic drizzle (via Cookie and Kate)
red sauce + cheese + fruit + onion + roast chicken + balsamic drizzle + honey drizzle + nuts
Pizza options are limitless! Clean out your fridge and just throw all of it on a pizza. It can't be bad ... right?
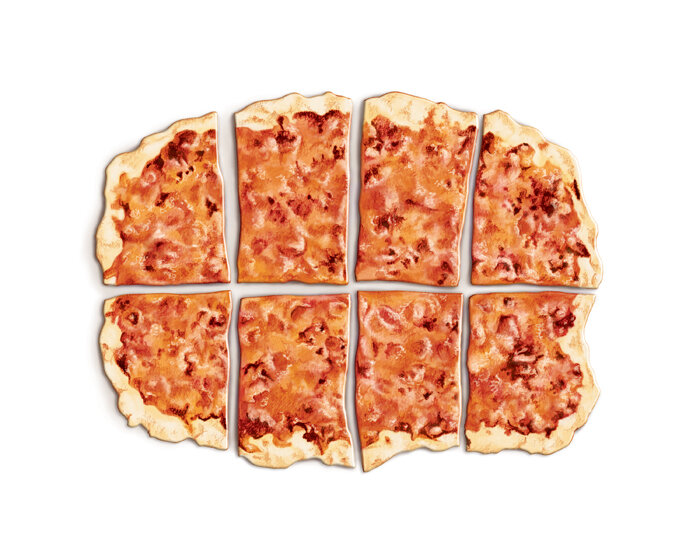
Illustration at top created with pencil and Photoshop.
Photos by Robert Cornelius and edited by me.
HOW TO MAKE PERFECT PIZZA AT HOME (STANDARD PIZZA)
Makes one 11x15 inch pizza (serves 2)
INGREDIENTS
½ cup warm water
1¼ tsp active dry yeast
¼ tsp granulated sugar
190 g (about 1½ cups) bread flour (or all-purpose, or ½ AP and ½ whole wheat)
1 tsp fine sea salt
olive oil
cornmeal
herbs (optional) - basil, oregano, etc.
½ cup tomato sauce
1 cup shredded cheese (mozzarella, parmesan, etc. - a nice mix is good)
INSTRUCTIONS
Put your warm water in the bowl of a stand mixer. Sprinkle the yeast on top and then sprinkle the sugar on top of that. Let it sit for 5 minutes.
At the same time, turn your oven on to "warm" or 200°F for 5 minutes and then turn it off.
In a small bowl, mix together the flour and salt.
When the yeast is done sitting for 5 minutes, add the flour mixture and mix on medium-low with a dough hook until it forms a craggy mass.
Stop the mixer, scrape down the sides of the bowl and then mix again on low speed for another few minutes until the dough comes together in a smooth ball. If it seems too wet or too dry, add a little more water or flour until it reaches the right consistency. It should not stick to your hands.
Take the dough out of the bowl and set it aside. Put about 1 tbsp of olive oil in the bowl and swish it around the bottom. Put the dough back in the bowl and turn it a few times to coat it with oil. Cover the bowl tightly with plastic wrap and set it in the oven to rise for at least 30 minutes.
Spray a sheet pan with nonstick oil or rub it with olive oil. Sprinkle some cornmeal over top and some herbs if you're using them.
When the dough is done rising, use your hands to spread it out into a rectangle on the sheet pan to about 11x15 inches. Meanwhile, turn your oven on to 500°F.
Place the spread-out dough in the oven for 4-6 minutes, or until it just starts to firm up.
Take it out of the oven and then top it with sauce, cheese, or whatever toppings you might be using.
Place it back into the oven to bake for 7 minutes. After 7 minutes, broil it if necessary to get the cheese browned and bubbly.
Slide the pizza off of the sheet pan and onto a large cutting board to slice it up. Top with fresh herbs, a balsamic drizzle, nuts, etc. if using.
Enjoy!
NOTES
adapted from The Smitten Kitchen Cookbook


