
Orange Cinnamon Rolls

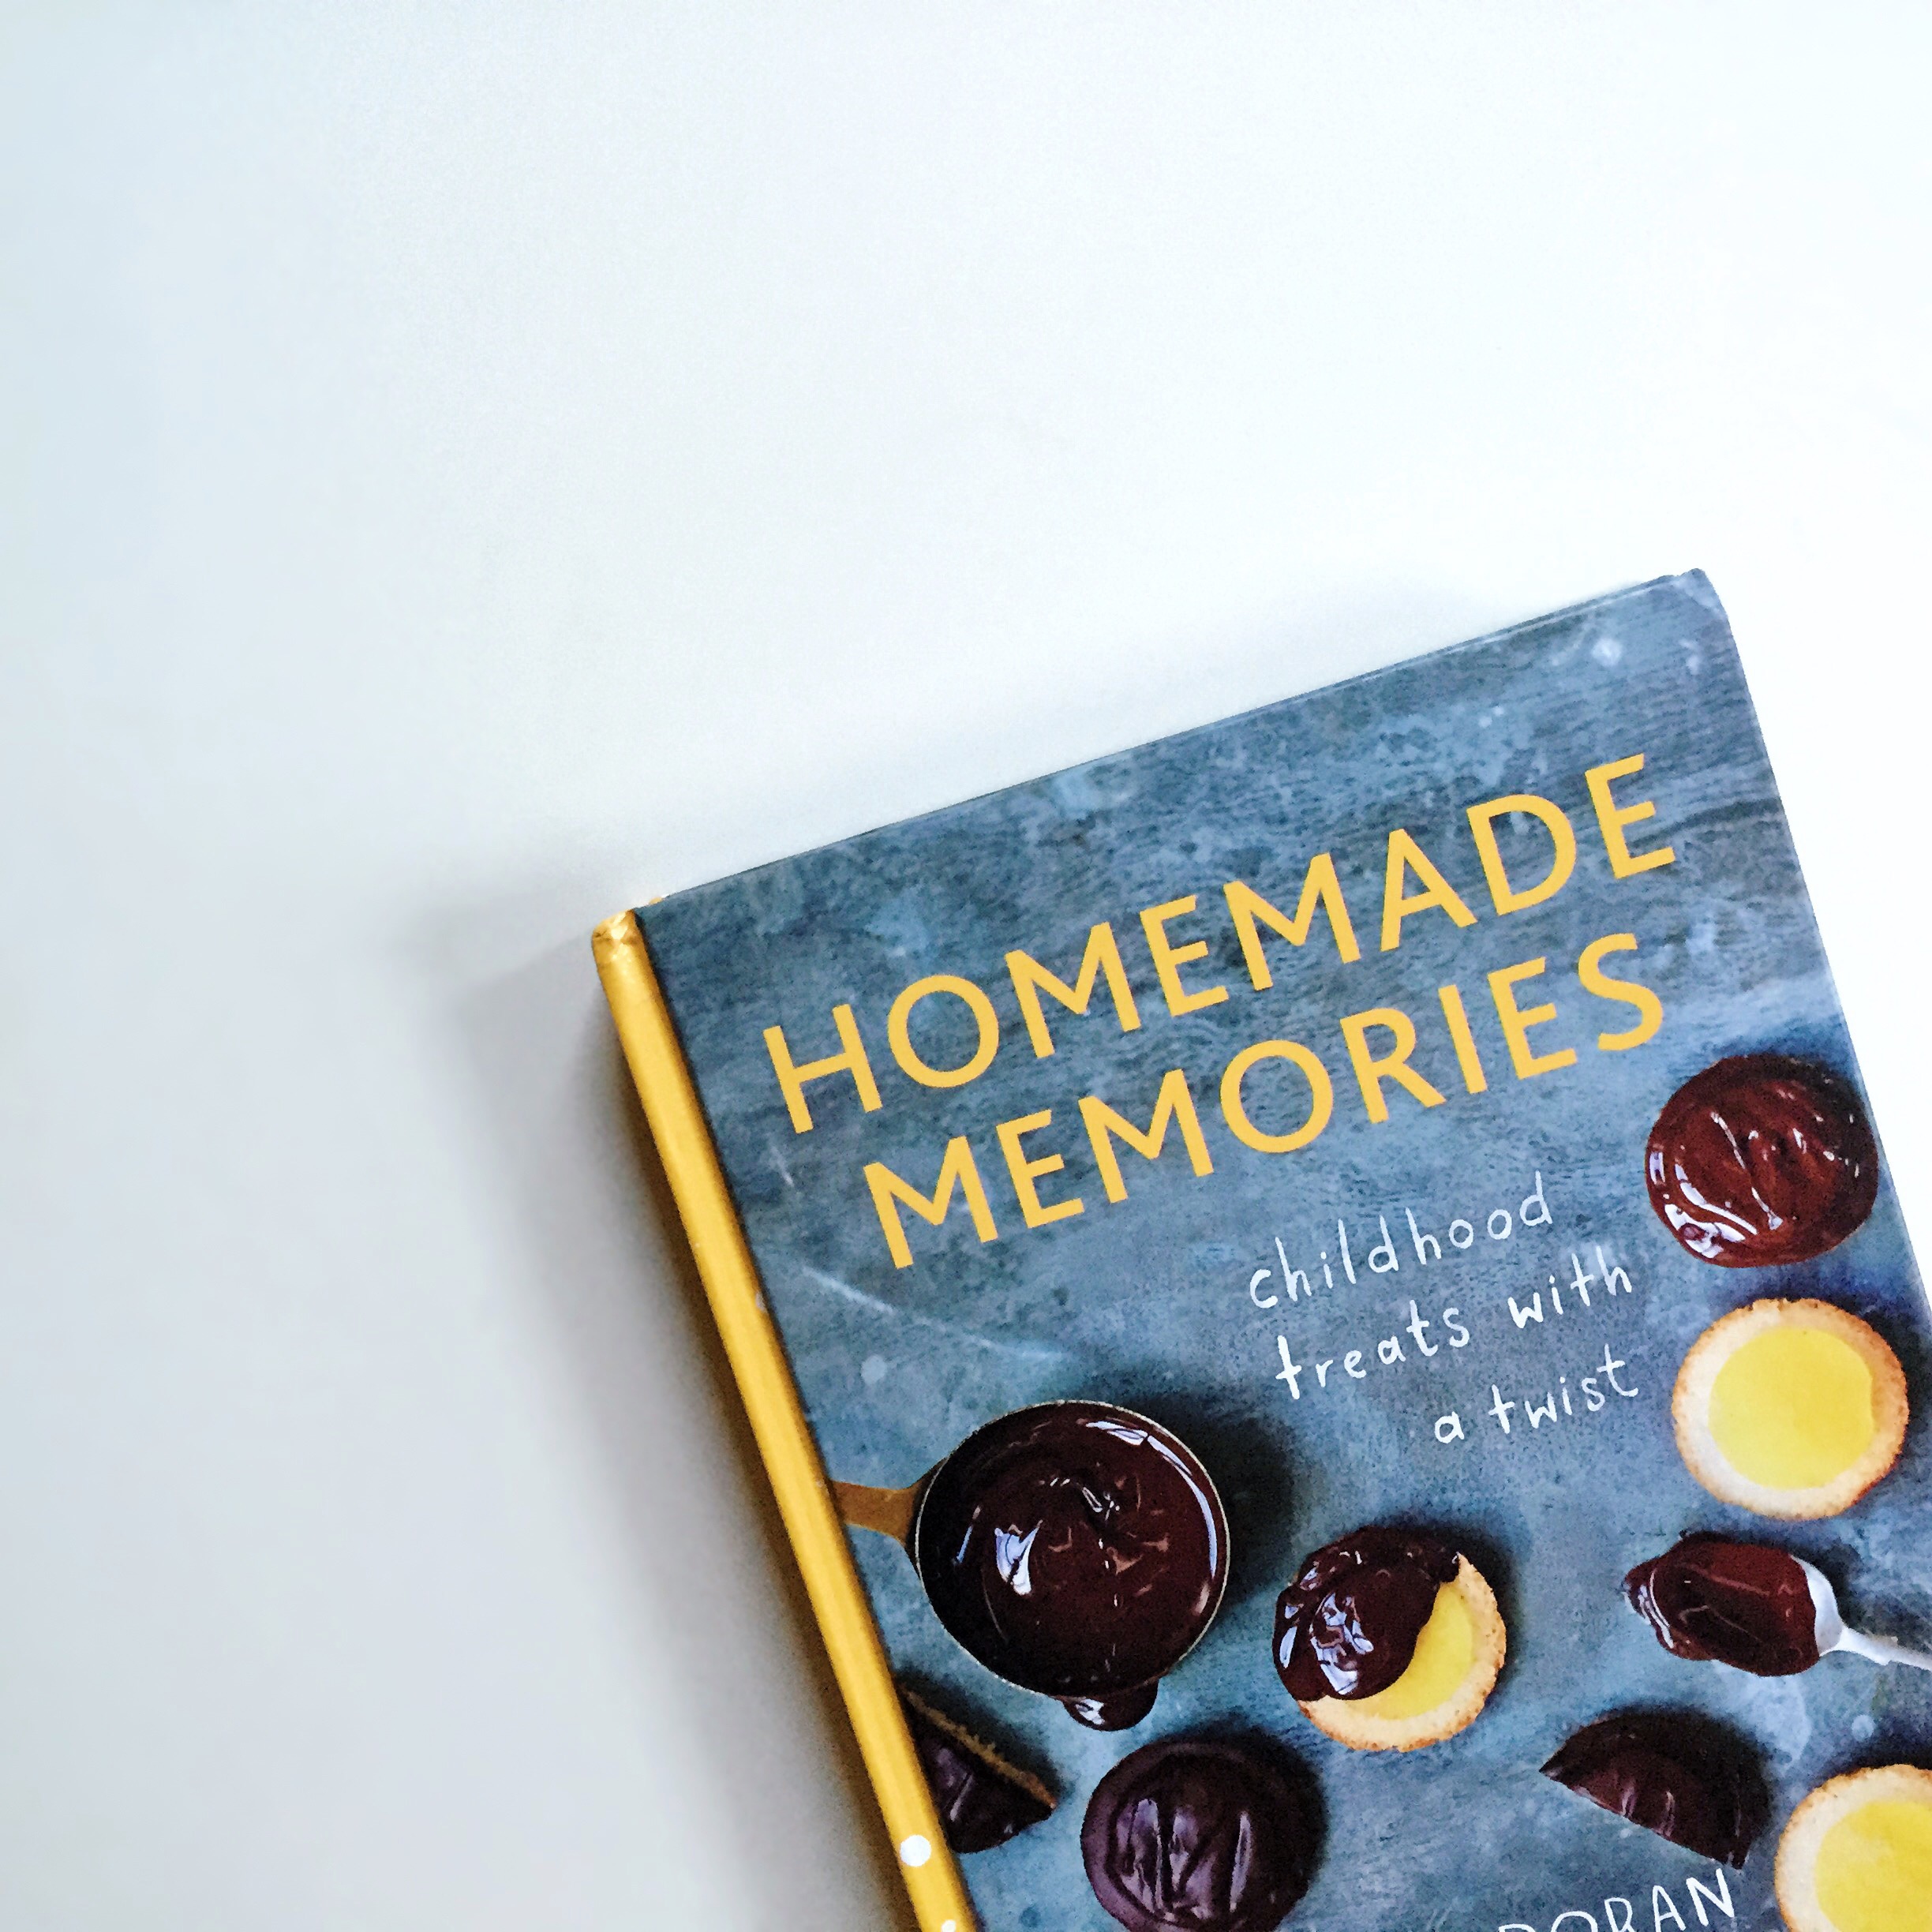
I received the cookbook Homemade Memories (by Kate of The Little Loaf) last summer when it was released, and I was so excited to create a recipe from it fitting the theme of the book. I already had blog posts planned out for the summer and was hoping to get this one out around Christmas time. Then I got sick with a crazy virus in the fall and winter, which meant I was posting even less than normal and things got pushed back. (Being sick is so annoying.) I was then hoping to get it out in the spring, but other things popped up and it got moved around again. Now here we are in August, almost September, more than a year later. Hi! Welcome to the lifecycle of a Cake Over Steak blog post. The truth is I have way more ideas for this blog than I could ever have time for, and sometimes that's just the way it goes around here.


Blogging truly takes soooo much time. I try to put a lot of thoughtfulness and energy into the recipe testing for my posts, and sometimes that also coincides with planning real-life parties. It's a lot of work, but it's also part of what I love about blogging. So when I get these posts out into the world that have been brewing here in the background for a long time, it feels that much sweeter. The quick and dirty ones that pop up and get published right away are also fun for me, but it's often the posts like this one that can mean a lot more to me.


Kate's book, with the tagline "childhood treats with a twist," is all about making those things you ate as a kid. Maybe they came from a box mix or wrapped in plastic, but she teaches you how to make them from scratch instead. Figuring out ways to make my favorite store-bought items from scratch is something that always gets me fired up about being in the kitchen. Since she is from the UK, a lot of her recipes are totally foreign to me, and are made even more foreign by her use of descriptive words like "squidge." I'm not really sure what that means, although it feels kind of self-explanatory and I really like it. I'm making a mental note to use it myself in everyday language. (Feel free to comment and use it in a sentence for me so I can practice.) I also appreciate her use of interesting flours, both for an added nutritional element and to impart extra flavor, like in her wholemeal toaster pastries.


When I saw her recipe for orange and honey iced buns, it made me think of the Pillsbury Orange Sweet Rolls. Every Christmas morning at my house we eat the Pillsbury cinnamon rolls, both the orange and the regular kinds. When Robert came along he pointed out that my family kept referring to them as "danishes," which is super weird, right? They're not what I would normally call a danish - I would call them a cinnamon roll, but not a danish. Where did this come from? Did they used to say danish on the package? Someone please help me out here. (UPDATE: My mom found the origin of "danish.")


Anyway, moving on - Seeing that recipe pop up in her book, I realized I had never attempted to make those from scratch instead of making the Pillsbury kind, even though I'm a food blogger who loves to bake. That was my lightbulb moment and I knew I had to figure out a recipe to make these orange cinnamon rolls from scratch.


I worked through a few versions of this recipe, starting with her orange honey buns as a guide and referring to some other cinnamon roll recipes. While they're not quite the same as the Pillsbury ones, I'd say they have the essence of them. They have the same familiar sweet tanginess thanks to the orange glaze, but they're much larger (yay), lighter and fluffier than the original. I don't think my family will ever get rid of our Pillsbury tradition entirely, but maybe they'll let me add these to the lineup. And even though this recipe makes me think of Christmas, they'd obviously be delicious at any time of year.
I'd like to say a belated congrats to Kate on her beautiful book! And congrats to her again, as she's been busy taking care of her new little one.

GIVEAWAY!
[UPDATE: This giveaway has ended.] Not only has this post been hanging out in the background for over a year, but I've also had an extra copy of this book sitting in my apartment, waiting to be sent to one of my lovely readers. You can use the rafflecopter widget below to enter. The giveaway will close on Monday, September 5, 2016 at midnight.
Illustration at top created with pencil and Photoshop.
Prints of my illustrations (along with other products with my work on them) are available in my Society6 shop.
Orange Cinnamon Rolls
Makes 12 large rolls
INGREDIENTS
For the dough:
7g (2 tsp) active dry yeast
2 tbsp warm water
1/4 tsp sugar
250g (2 cups) all purpose flour
250g (2 cups) bread flour
1 tsp coarse kosher salt
3/4 cup + 2 tbsp whole milk
zest from half a medium orange
3.5 tbsp unsalted butter, cubed
2 heaped tbsp honey
2 large eggs, beaten
For the filling:
2 tbsp unsalted butter, melted
1/4 cup granulated sugar
1.5 tsp ground cinnamon
For the icing:
1/4 cup fresh orange juice (from your whole orange)
zest from the other half of your orange
2 tbsp honey
2 1/2 cups powdered sugar
INSTRUCTIONS
Make the rolls:
In a small bowl, combine the yeast with the 2 tbsp warm water and 1/4 tsp sugar. Let that sit for a few minutes. It should foam and bubble up.
In the bowl of your stand mixer, stir together the flours and salt. Set aside.
In a medium saucepan, combine the milk, orange zest, butter and honey. Heat gently until the butter begins to melt. Then remove from the heat and stir until completely melted. It should feel warm if you put your finger to it, but not hot.
Slowly stir the beaten eggs into the milk mixture, whisking constantly, and then add the yeast. Stir to combine.
Pour the wet ingredients into the flour mixture.
Using your stand mixer, knead with the dough hook until it forms a smooth dough. It will be sticking to the sides of the bowl, but if you stop it and push the dough in with a spatula, it should stick to itself.
Cover with a towel and let it sit in a warm place for about an hour or until it's doubled in size.
Meanwhile, combine the sugar and cinnamon in a small bowl and set aside.
Once the dough has risen, place it on a lightly floured work surface and use a rolling pin to roll it to an 11x15-inch rectangle. Use a pastry brush to cover the surface with the melted butter (for the filling), and then sprinkle the cinnamon sugar mixture on top. Try to cover it all the way out to the edges.
Starting at the long edge, roll the dough up into a log and pinch the edges to seal. If the ends are skinny, squish the whole thing together to make it more uniform. Use a sharp knife to cut the dough into 12 equal slices.
Line a jelly roll pan (half sheet pan) with parchment paper. Place the rolls cut side down on the pan, leaving space between them for rising. Cover with plastic wrap and let it rise again in a warm place until they have doubled in size (about an hour).
About twenty minutes before you want to bake them, heat your oven to 400°F.
Remove the plastic wrap and bake the rolls on the pan for 11-12 minutes, or until pale golden on top. Let them rest for a few minutes before transferring to a wire rack to cool completely.
Make the icing:
Gently warm the zest, juice and honey together in a small saucepan until the honey becomes runny. (You could also microwave them on a low setting for about 30 seconds, if you'd prefer.) Remove from the heat, add the sugar and whisk until smooth. If it seems too thick, add more orange juice. However, you want it to be a fairly thick, spreadable consistency or else it will fall off the rolls too easily. It should drip off of a fork very slowly.
Once the rolls have cooled, use a knife to spread the top of each with plenty of glaze. Allow it to harden as it comes to room temperature.
Store the rolls at room temperature in an airtight container. They are best the day they are made, but will keep for a few.
NOTES
adapted from Homemade Memories and Hummingbird High