Chocolate Chip Ice Cream Sandwiches with Honey Olive Oil Ice Cream
This is one of those special blog posts where I get to tell you about a talented blog friend of mine AND a beautiful book they've created. If you're not familiar with Lindsey of the blog Dolly and Oatmeal, then you need to pause right here and go check out her site immediately. She has been a major inspiration to me, both with her inventive recipes and her gorgeous photography. (Seriously - her photos are so beautiful I can hardly stand it.) I was lucky enough to meet her a few years ago at a random blogger picnic in NYC. She brought a fattoush-style salad that I still think about, and she was quiet and soft-spoken, but so kind. Her little dog is also a delight. She has continued to be a supportive blog friend as I've worked to figure out this weird world we're a part of.
Lindsey's blog is special because it's gluten and dairy-free, a way of eating that's she's discovered makes her feel the best. But the thing about her recipes is that they're so wonderfully creative, and in a way that never makes you feel deprived without the gluten and dairy. I often forget that her site is focused on that, because it's really more just about great food and breathtaking photography. Everything I've tried from her site has been wonderful. Her recipes helped me discover a love for turmeric in my salad dressings, so I make variations of her sweet potato lunch bowl with golden dressing and her potatoes with garlic-turmeric sauce as often as possible. Now when I eat roasted potatoes I just crave one of her turmeric dressings. You should try it.
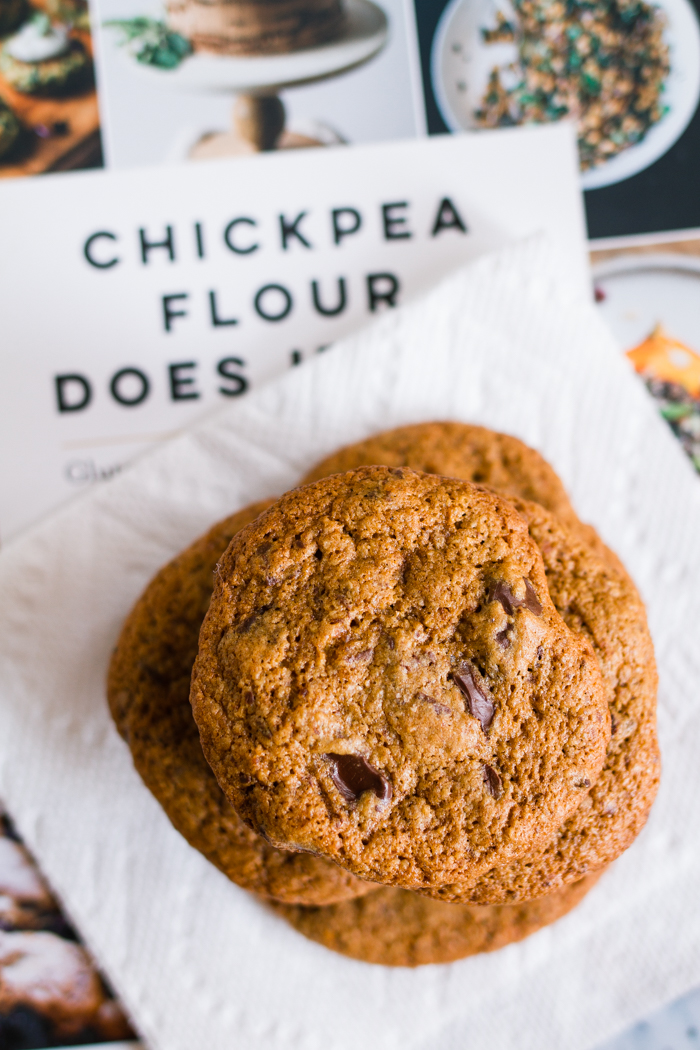
Her debut cookbook, Chickpea Flour Does It All, is full of her signature gluten and dairy-free recipes and amazing photography. As you can imagine, the book is all about chickpea flour and the various ways you can use it. And let me tell you - Lindsey has figured out ways to use it for literally EVERYTHING. I'll just name a few: pancakes, bread, crackers, soup, creamy dips, homemade pasta, waffles, pizza, cupcakes, granola, etc. She's a genius. The book is organized by month, keeping the seasons in mind, and each month features a little bit of everything: breakfast, snacks, lunch, dinner and dessert. I love the amount of thought and care that went into that decision. This book would be perfect for anyone who needs to avoid gluten and dairy, or just for someone who is interested in trying to incorporate some more nutrient-dense flours into their diet.
The cookies in today's recipe are straight out of her book, and I actually tested this recipe for her book as she was working on it. I made them the day Robert had the lovely YouTube talent Mackenzie Johnson in his studio, photographing her for this piece, which is one of my favorites of his to date. She was there along with her parents, which meant I had people to share them with, and we all couldn't get over how good these chocolate chip cookies were. Since they're made with chickpea and oat flours instead of all purpose flour, we felt a little better about gorging on them. Their lack of refined sugars and flours doesn't leave you with the sugar crash you get from some sweets. These ones have a bit of an earthy, savory element to them from the flours and the olive oil in them, and we just couldn't get enough of them. They were also recently a big hit at my office, and those guys are kind of picky about their chocolate chip cookies. (It's possible that I over-trained them. See: here and here.)
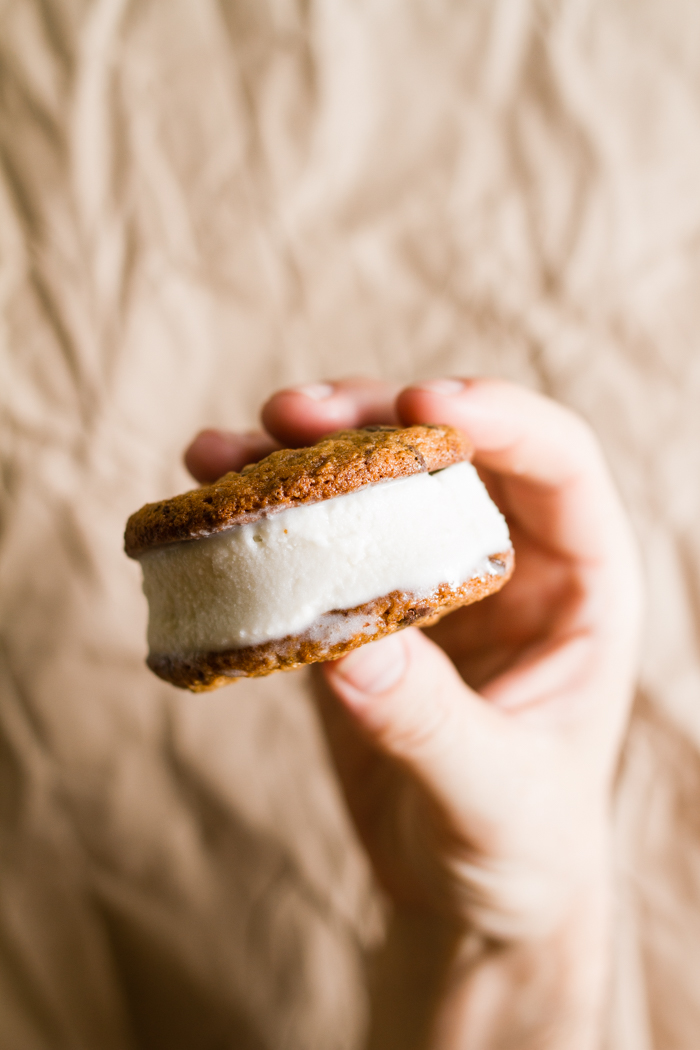
Since I loved the cookies so much I wanted to figure out a fun way to use them for this blog post, and then the idea of ice cream sandwiches came to mind. DING DING DING! Since Lindsey doesn't eat dairy or gluten, that would give me a chance to play around with a dairy-free ice cream recipe. So then the question was: what flavor? I was intrigued by the idea of olive oil ice cream, especially since the cookies are made with olive oil. And then honey sounded good with that combo, so I went with a honey olive oil ice cream and it turned out SO WELL. While eating these ice cream sandwiches, Robert and I both kept saying, "OH MY GOD THIS IS SO GOOD!" My parents had a similar reaction to them (and they're ice cream snobs), and so did a couple friends who tasted them as well. The flavors of the ice cream pair so perfectly with these cookies. The coconut flavor is definitely present (since the ice cream is coconut-based), but it just adds to the magic since the cookies have coconut sugar in them, tying everything together even more. This is seriously one of the best things I've made for the blog.
I'm adding this recipe to the Robert-Can't-Get-Enough category. We both ate the leftover ice cream sandwiches from this photo shoot way too quickly. And, this is classic Robert - as he was eating them he said to me, "I hate you." That translates to: "I love this so much that I can't stop eating it. Why are you doing this to me?" He had a sore throat recently, and he used that as an excuse for why he kept dipping into the leftover ice cream. He's not one to usually sneak sweet treats (that's usually me), but I'd find him standing in the kitchen holding the ice cream container and a spoon. I'm telling you - YOU HAVE TO TRY THESE.
You know what else makes this recipe so awesome? This dairy-free ice cream is way easier to make than regular ice cream. You're not making a custard, so you basically just have to mix everything together. Aside from the chilling and the churning, there's MAYBE 15 minutes of hands-on time involved. The cookies are also extremely easy to make. As long as you plan ahead, these would be very easy to make for a dinner party or something and then just have them ready to go in the freezer. I actually noticed that they got a little tastier as they sat in the freezer, fully assembled. The flavors seemed to meld even more between the ice cream and the cookie.
Speaking of parties, this recipe is part of a blogger baby shower for Lindsey. She's having a baby! Like, right now - possibly today! I was already planning to talk about her beautiful book, so it seemed fitting to throw it all together along with a celebration of her growing family. Sonja from A Couple Cooks and I gathered some bloggers together to celebrate, and we're all sharing gluten and dairy-free recipes because we'd obviously want Lindsey to be able to eat everything at her baby shower. You can find all of the participating recipes below:
Sweet Potato Millet Pancakes | The Full Helping
Mushroom and Kale Tacos | Brooklyn Supper
Butternut Squash French Toast | Edible Perspective
Roasted Green Tomato Soup with Herbed Oil | With Food + Love
Tart Cherry, Chocolate & Hempseed No-Bake Oat Bars | Kale & Caramel
Dark Chocolate Hummus | A Couple Cooks
Maitake Steaks with Cauliflower Purée | O&O Eats
Cucumber & Chamoe Melon Salad | Two Red Bowls
Strawberry Rhubarb Jam | The Sugar Hit
Miso Edamame Hummus with Baked Furikake Sweet Potato Chips | Fix Feast Flair
Mini Hazelnut Cakes | I am a Food Blog
The Magic of a Mandolin: Vegetable Carpaccio | Eat Boutique
Almond Chia Pudding with Roasted Grapes | Tending the Table
Peanut Butter and Dark Chocolate Puffed Millet Bars | Heart of a Baker
Congrats Lindsey! We wish you all the best in this new chapter of your life. xoxo
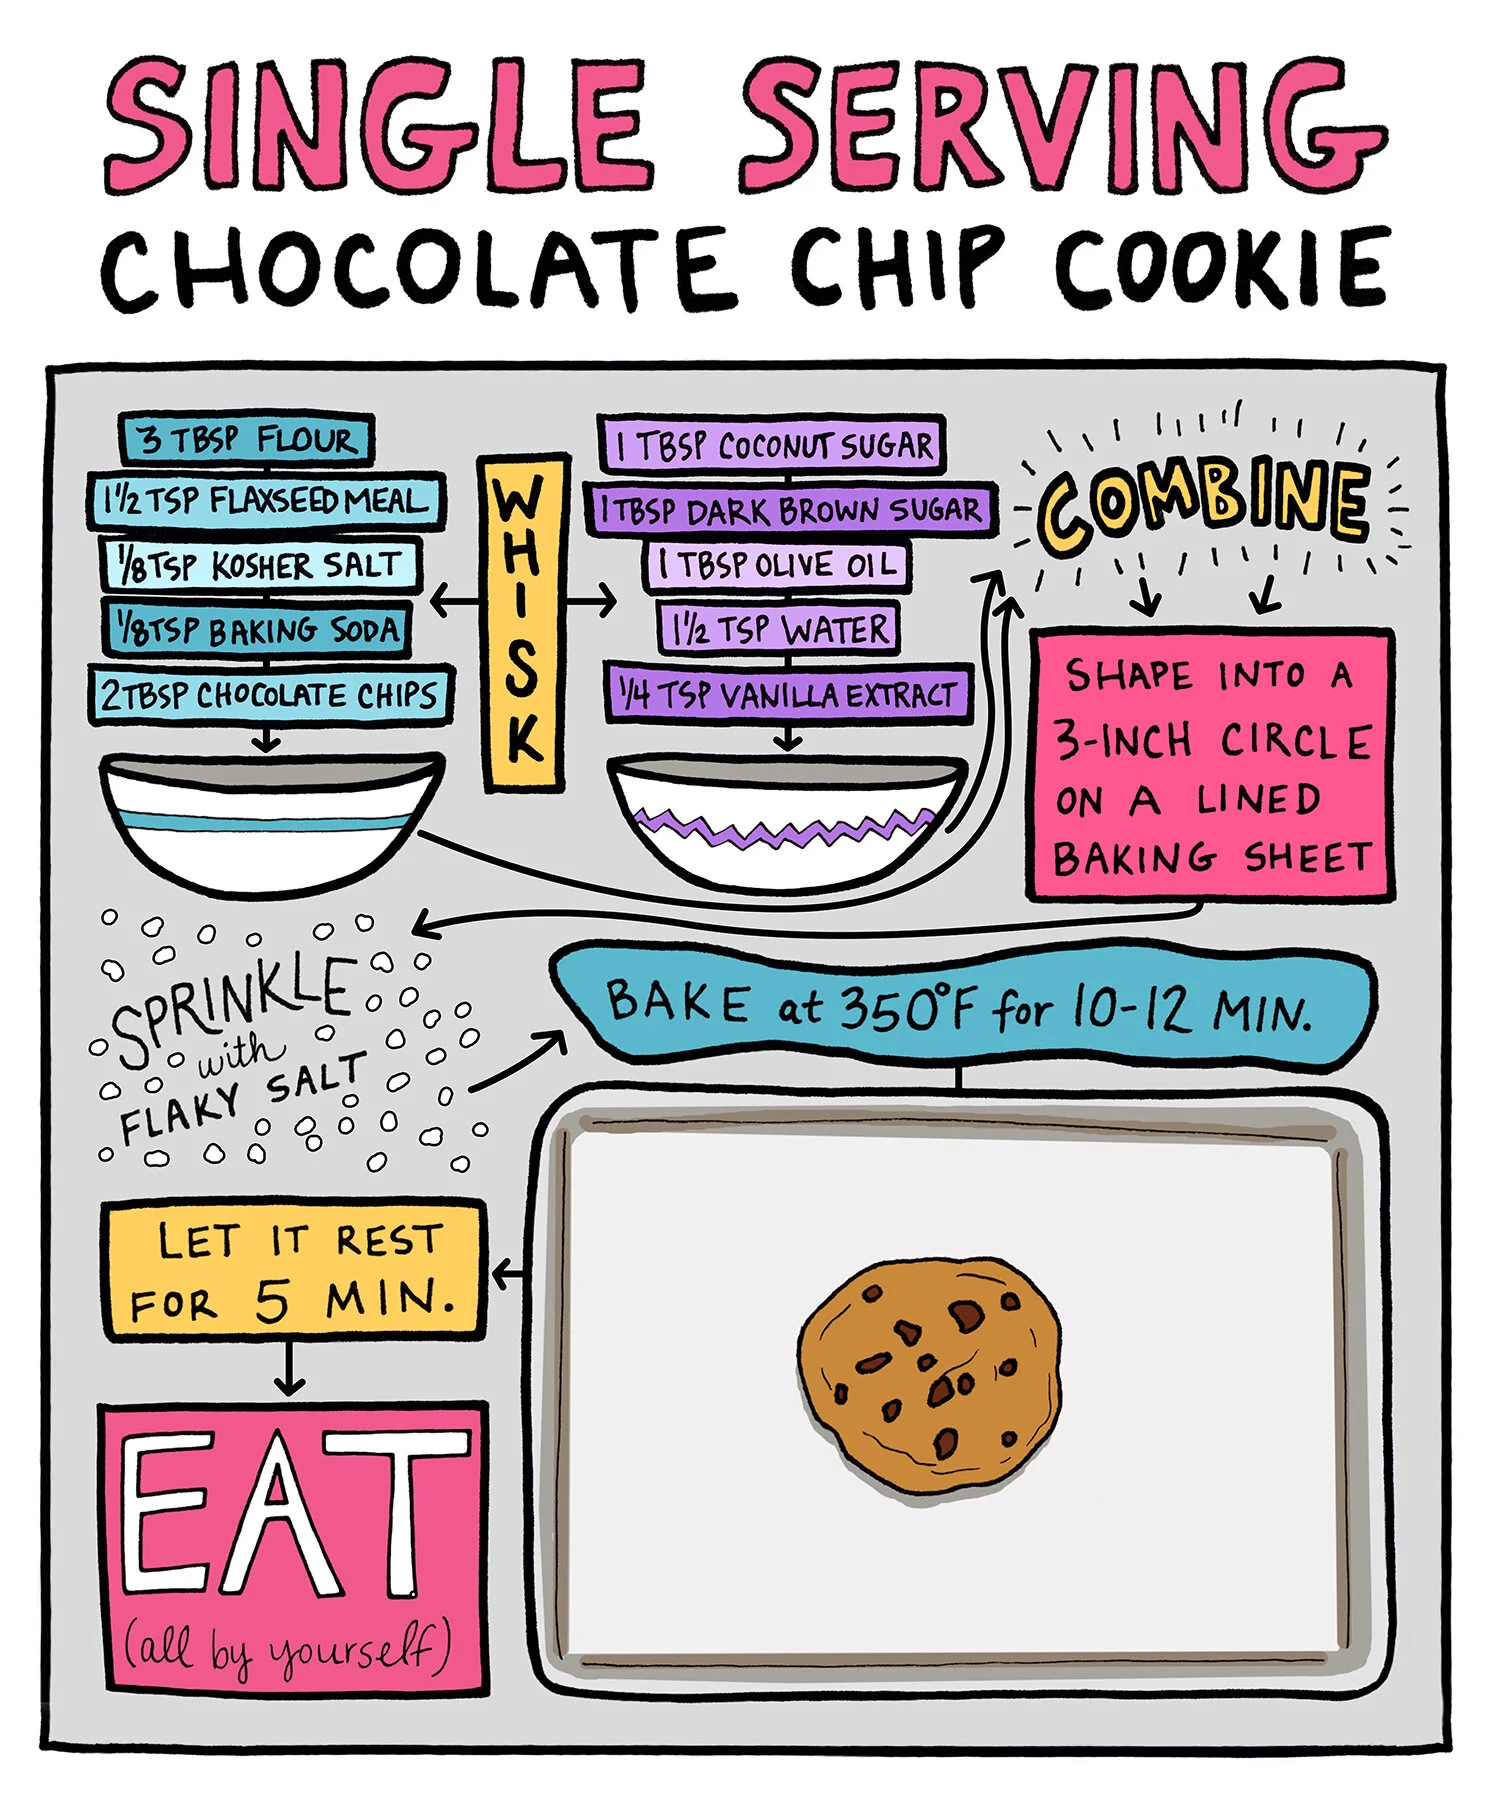
Illustration at top created with pencil and Photoshop.
Prints of my illustrations (and other products with my work on them) are available in my Society6 shop.
Chocolate Chip Ice Cream Sandwiches with Honey Olive Oil Ice Cream
• Makes enough for about 14 ice cream sandwiches
• Delicious gluten-free chocolate chip cookies with dairy-free honey olive oil ice cream sandwiched between them. AMAZING.
INGREDIENTS
For the ice cream:
1 (14oz) can coconut cream
1 (13.66oz) can full fat coconut milk
2/3 cup honey
2 tbsp coconut sugar
1 tbsp vodka
1 tsp vanilla extract
1/4 tsp sea salt
1/4 cup olive oil
For the cookies:
3/4 cup (90g) chickpea flour
3/4 cup (85g) oat flour
1 tsp baking powder
3/4 tsp sea salt
1/2 tsp baking soda
1 cup (144g) coconut sugar
1/2 cup (120ml) extra virigin olive oil
1 large egg
1 tbsp almond milk
1 tsp pure vanilla extract
6oz (170g) roughly chopped bittersweet chocolate (60-70% cacao)
Himalayan pink salt
INSTRUCTIONS
Make the ice cream:
Warm the coconut cream, coconut milk, honey, sugar, vodka, vanilla and salt over medium heat until it comes to a simmer. (Pro tip: Measure out your olive oil first, move to another container, and then measure your honey in the one you previously used to measure the olive oil. It will help the honey to slide out more easily.) Remove from the heat and stir in the olive oil.
Let it sit for about ten minutes to cool down, and then refrigerate in an airtight container for at least four hours, or until well chilled.
Once it has thoroughly chilled, give it a good stir (it will separate) and then transfer to your ice cream maker. Churn according to your individual ice cream maker's instructions. I use the Kitchenaid attachment, and you churn for 15-20 minutes, or until it starts to pull away from the sides of the bowl.
Pack the ice cream in a freezer-safe container, put parchment paper over the surface of the ice cream, and freeze until firm. (This will take about 4 hours, or you could leave it overnight.)
Make the cookies:
In a large bowl, whisk together the flours, baking powder, salt and baking soda. Set aside.
Using your stand mixer or a hand mixer, beat together the sugar and oil. Beat in the egg, milk and vanilla until combined. The mixture will be thick and sticky. Stir in the flour mixture on a low setting, and then fold in the chocolate chunks by hand with a spatula.
Cover the bowl with plastic wrap and refrigerate for at least one hour.
About half an hour before you're ready to bake them, heat your oven to 350°F.
Using a small cookie scoop (about 1 rounded tbsp), place scoops of dough onto a parchment-lined baking sheet, about 2 inches apart. Sprinkle lightly with pink Himalayan salt.
Bake for 9-11 minutes, or until lightly browned on the edges. Let them chill on the baking sheet for about 3 minutes before removing them to a wire rack. Continue with the rest of the dough.
Cookies can be stored at room temperature for a few days in an airtight container.
Assemble the ice cream sandwiches:
Once the cookies have fully cooled, place a generous scoop of ice cream on the underside of one cookie. Place another one on top and then gently squish it down and wiggle it around. Use the back of your ice cream scoop to smooth the ice cream around the edges.
Enjoy immediately, or store them in the freezer in an airtight container for a day or two. (I actually found that they tasted wonderful after sitting in the freezer like this for a day, but they're also delicious if you eat them immediately.)
NOTES
Cookies adapted from Chickpea Flour Does it All, and the ice cream is adapted mainly from Snixy Kitchen.


